A video wall that goes dark halfway through a load-in is rarely solved by replacing the first part that looks suspicious. A failed power supply may be the cause, but it may also be the result of a shorted module, damaged connector, compromised cable, or fault elsewhere in the distribution path. Effective LED power repair begins by determining where power is being lost, why it failed, and whether the issue has affected other parts of the system.
For rental houses, production teams, integrators, and venue operators, that distinction matters. Replacing panels or power assemblies without a clear diagnosis can consume usable inventory, create repeat failures, and leave a crew dealing with the same problem on the next show. The goal is not simply to restore illumination. It is to return the display to dependable operating condition with a repair decision that makes operational and financial sense.
What LED Power Repair Actually Covers
In a professional LED display, power is a path rather than a single component. AC power enters the cabinet or system, is converted by a power supply, moves through distribution wiring and connectors, and reaches receiving cards, hub boards, modules, driver ICs, and LEDs. A fault at any point can produce symptoms that look similar from the front of the wall.
A completely dark cabinet may point to an input, supply, fuse, connector, or distribution failure. A cabinet that powers on but contains dark or unstable modules can indicate a low-voltage issue, a damaged hub connection, a failed module circuit, or a data-path problem. Intermittent brightness changes may be related to voltage drop under load, heat, loose connections, or an assembly that has been damaged during transport.
That is why power troubleshooting should not stop at the phrase “bad power supply.” The supply needs to be tested in context, including its output behavior under the appropriate load. The downstream circuit also needs evaluation. Installing a new supply into a cabinet with an unresolved short or compromised connection can lead to another failure and more downtime.
Symptoms That Point to a Power-Related Fault
Some power issues are obvious. Others show up only after the wall has been running, when thermal load and brightness demand increase. A disciplined diagnosis starts with the pattern of failure across the display.
If a single cabinet is dark while adjacent cabinets perform normally, technicians typically inspect cabinet input, internal distribution, the power supply, and local connections. If several cabinets on the same branch are affected, the issue may be upstream: an AC feed, breaker, distribution assembly, cable, or connector condition. If the cabinet has power but only one module is dark, the focus shifts toward module-level power, hub-board connections, and the module PCB.
Color behavior can also provide useful clues. Dim output, unstable brightness, color shifts, or flickering that changes with brightness settings may indicate that voltage is not reaching the module correctly under demand. But those symptoms can also be caused by driver ICs, damaged PCB traces, signal integrity issues, calibration problems, or receiving-card configuration. Good diagnosis separates a power fault from a fault that only resembles one.
Physical evidence matters as well. Heat discoloration around connectors, damaged solder joints, lifted pads, corrosion, cracked components, and bent pins can reveal a failure mechanism that a basic swap test misses. In rental inventory, impact damage and repeated handling often make connector and PCB inspection especially important.
The Difference Between Power Loss and Data Loss
A dark section is not automatically unpowered. A module with healthy power but no valid data can remain dark, display an incorrect image, or behave inconsistently. Conversely, a module with a signal path issue may appear to respond at times, leading teams to suspect an intermittent supply.
Technicians isolate these possibilities by verifying input and output voltages, checking the condition of the module and cabinet connections, comparing known-good components where appropriate, and evaluating the signal chain. This avoids the common mistake of replacing modules when the cabinet-side hardware or controller path is the actual source of the problem.
Why Component-Level Diagnosis Changes the Repair Decision
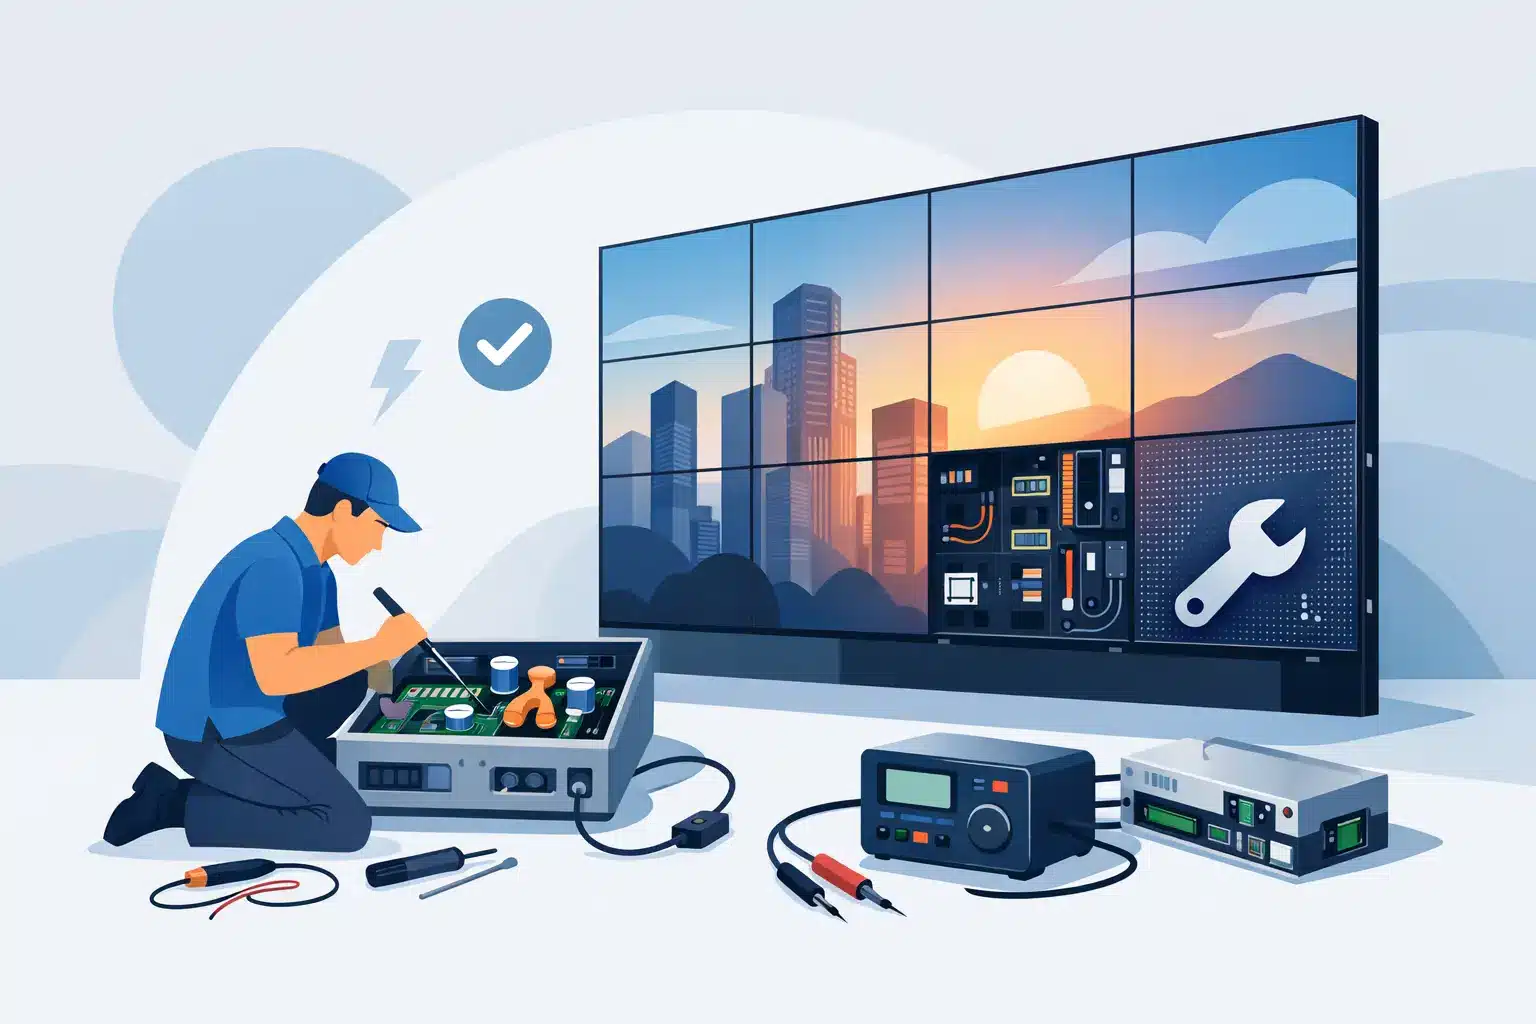
Professional LED systems are built from serviceable assemblies, but assemblies are not always the most practical repair unit. A failed capacitor, diode, regulator, connector, driver IC, or damaged trace may make an otherwise usable module appear beyond recovery. Component-level repair can preserve compatible inventory when direct replacement is expensive, unavailable, delayed, or unsuitable for color and batch consistency.
This approach is not appropriate in every case. Severe water intrusion, extensive PCB delamination, repeated thermal damage, or unavailable proprietary components may make replacement the more responsible option. The key is to assess the condition of the assembly honestly rather than treating repair as the answer to every fault.
For organizations managing mixed inventory or aging display products, repairability can also depend on module availability and visual matching. Replacing one module with a later production batch may restore function but introduce brightness, color, mask, or mechanical differences that are visible on camera or at close viewing distance. Repairing the original module can sometimes better protect display uniformity, provided the underlying damage is repairable and final testing confirms stable performance.
At 725Co., component-level work is performed with microscope-level inspection, precision soldering, and verification of the affected circuit rather than relying on a part swap alone. That technical discipline is especially valuable when a module has already been through an unsuccessful internal repair attempt or has an intermittent issue that only appears under operating conditions.
A Practical LED Power Repair Process
A reliable repair process starts before the first component is removed. The most useful intake information includes the display brand and model, pixel pitch, cabinet type, symptom pattern, environmental exposure, recent transport or installation events, and whether the failure occurs continuously or only under certain conditions. Photos and video can help establish a pattern, but they do not replace electrical testing.
The first diagnostic stage is system isolation. Technicians determine whether the fault follows the cabinet, module, cable, receiving card, power supply, or processor output. Known-good substitutions can be useful, but they must be performed carefully so a bad component is not transferred into a healthy assembly or a new part is exposed to an unresolved fault.
Once the fault area is identified, the repair scope becomes clearer. A power supply may require replacement. A connector may need rebuilding or resoldering. A module can require PCB repair, component replacement, driver IC work, or pixel-level service. In some cases, the most important finding is that the apparent power issue is actually a control or signal problem requiring attention at the receiving card, hub board, processor, or configuration level.
After repair, testing should reflect how the display will be used. A module that lights up on a bench is not necessarily ready for a client-facing installation or a live event. Final checks should evaluate image stability, color behavior, brightness consistency, scan performance, and operation through appropriate test patterns. Where applicable, the repaired assembly should also be evaluated under sustained run time to identify heat-related or intermittent behavior.
Documentation Is Part of the Repair
For a single emergency cabinet, a quick answer may be enough to get through a show. For a professional inventory, documentation has greater value. It creates a record of the symptom, findings, repair performed, test results, and any recommendations for related equipment or recurring failure prevention.
That information helps operations teams make better decisions. If several cabinets show the same connector damage, for example, the issue may be handling practice, cable strain, a power-distribution condition, or a recurring weakness in a particular deployment. If failures cluster around specific modules, locations, or events, the repair history can reveal a pattern before it becomes a larger inventory problem.
Documented QC also gives technical directors, warehouse managers, and purchasing teams a clearer basis for deciding whether to repair, hold, retire, or replace equipment. It turns repair from a one-time response into useful asset information.
Preventing Repeat Power Failures
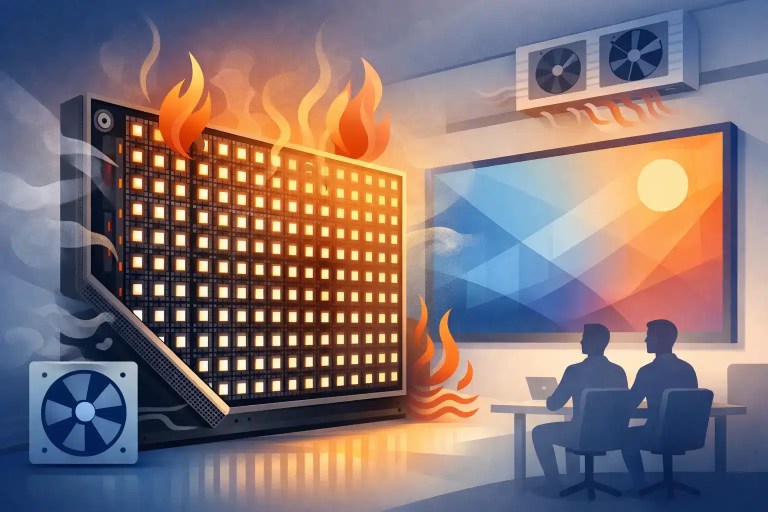
Many repeat failures are not caused by the repaired component itself. They come from the conditions around it: overloaded or poorly managed power paths, damaged cables, connectors under strain, poor cabinet ventilation, moisture exposure, contamination, or modules installed before underlying faults are isolated.
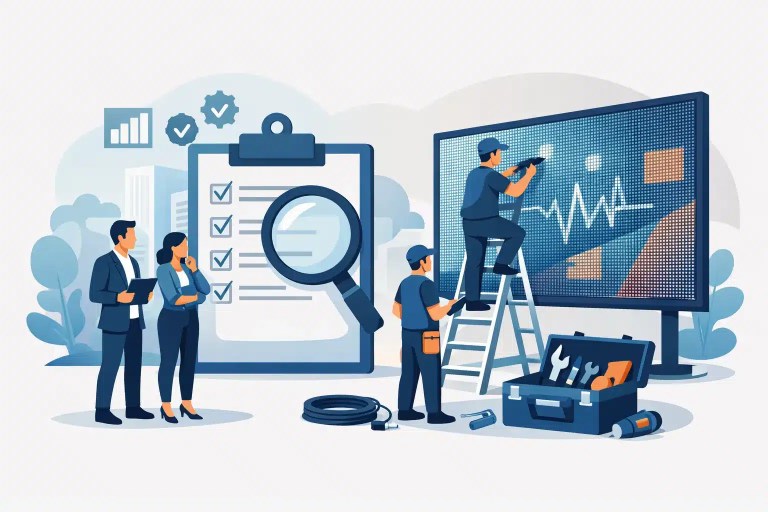
Routine inspection is particularly worthwhile before major deployments and after high-risk events. Checking connectors for heat damage, confirming cabinet hardware is secure, reviewing cable condition, and separating questionable units from ready-to-rent inventory can prevent a small issue from reaching a show site. For permanent installations, monitoring environmental conditions and keeping service records can be just as valuable as maintaining spare modules.
When a display failure creates pressure, the fastest-looking option is not always the most efficient one. A careful LED power repair process identifies the real fault, preserves repairable assets where practical, and gives the next crew a system they can put back into service with confidence.

Jose de Jesus Martinez (Chuy) is the CEO of 725co. LED Repair Professionals, a trusted name in high-quality LED module repair and video wall services. With over 12 years of experience and certification as an electronic engineer, Chuy has built a reputation for excellence, partnering with industry leaders. Under his leadership, 725co is known for precision repairs, transparent service, and a commitment to protecting the long-term value of LED investments.