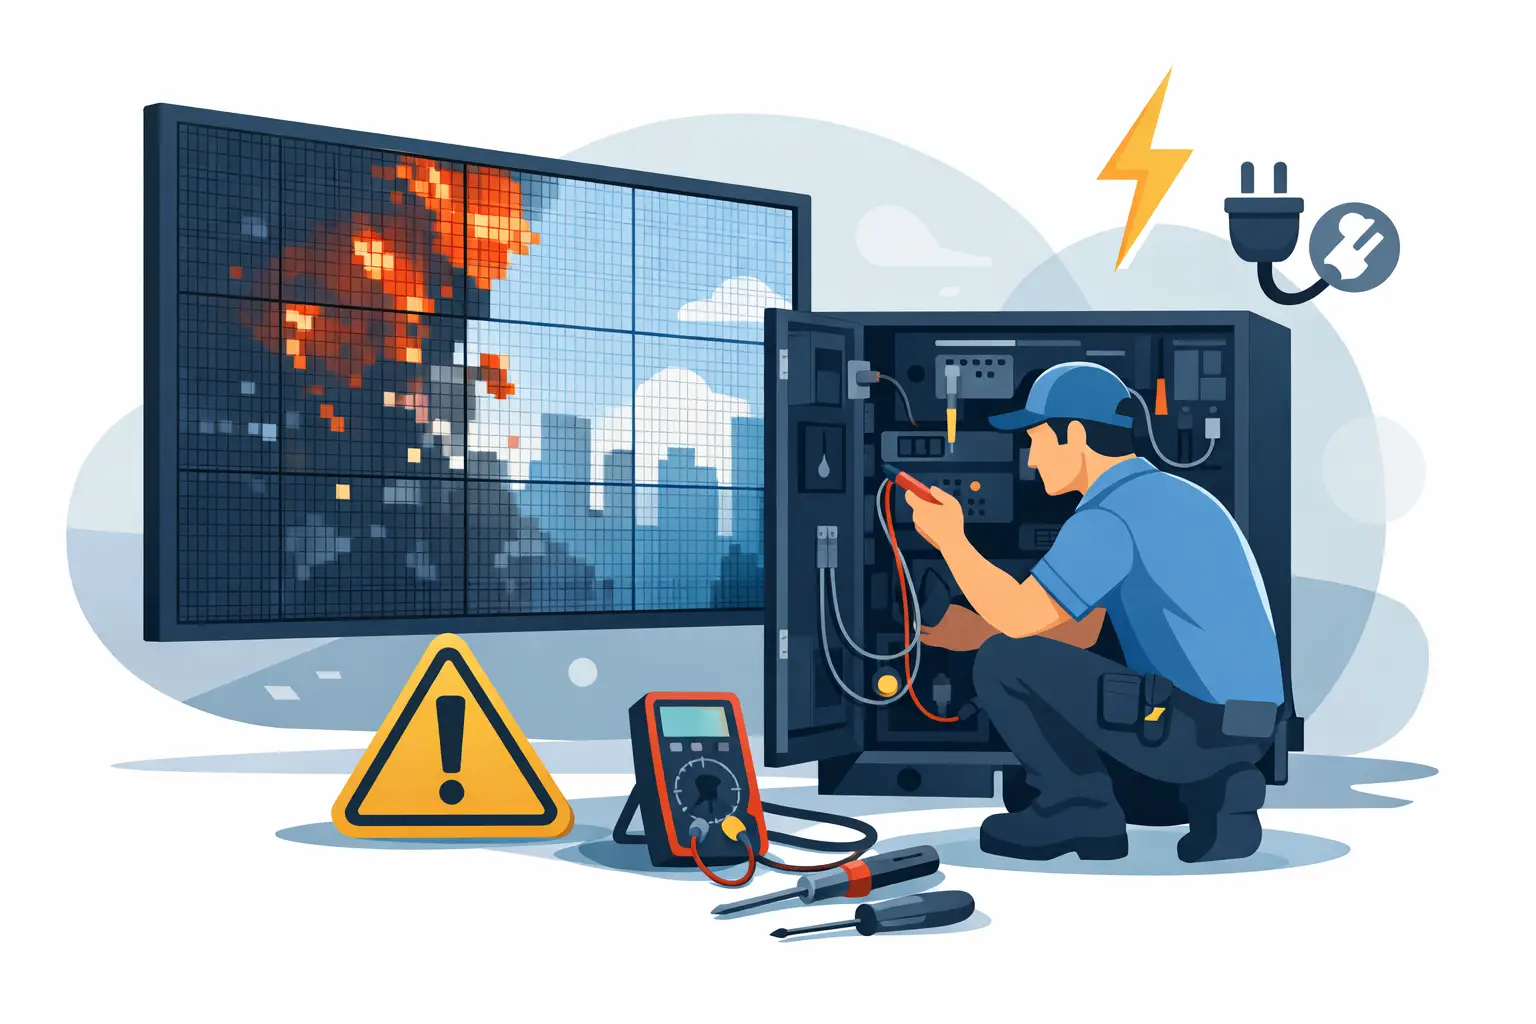
A cabinet that goes black five minutes before doors open is rarely a simple “bad power supply” situation. To repair LED cabinet power correctly, a technician has to establish where power stops, whether the fault is isolated or systemic, and whether a power issue may have affected downstream modules, receiving cards, or distribution hardware. Replacing parts before answering those questions can turn a contained failure into recurring rental inventory downtime.
Professional LED cabinets operate as a chain: AC input feeds a power supply, the supply feeds distribution hardware and low-voltage rails, and those rails support modules, receiving cards, fans, and sometimes peripheral control hardware. A fault anywhere in that chain can produce similar symptoms – a dark cabinet, intermittent modules, color instability, or a panel that works on the bench but develops problems under show conditions.
Start With the Failure Pattern
A useful first diagnostic step is not opening the cabinet. It is documenting the behavior. Does the cabinet fail completely, or do only certain modules go dark? Does it fail immediately at power-up, after warm-up, only at a specific brightness level, or only when installed in a particular position in the wall? Is the issue repeated across multiple cabinets from the same batch?
These details help separate likely causes. A fully dark cabinet with no receiving-card status often points upstream toward AC input, a failed supply, a tripped protection device, damaged wiring, or a distribution problem. A powered receiving card with dark modules may indicate an output rail issue, loose harness, failed hub board, or a module-level defect. If brightness changes trigger the failure, the cabinet may have a marginal supply, excessive voltage drop, poor connector contact, or a load condition that does not appear during a low-brightness bench test.
Before disassembly, confirm the known-good variables. Test with a verified power cable and source, inspect the cabinet’s input and pass-through connectors, and compare behavior with an adjacent working cabinet. For rental systems, swap one variable at a time and record each result. Randomly moving modules, cards, and power supplies can hide the original failure path and make later QC harder.
Safety Comes Before LED Cabinet Power Repair
An LED cabinet power repair involves mains voltage and high-current, low-voltage DC circuits. A supply can retain hazardous charge after disconnecting input power. Use appropriate safety procedures, insulated test tools, and technicians qualified to work around energized equipment. If the cabinet is part of a flown wall or fixed installation, isolate it according to the site’s electrical and access procedures before work begins.
Diagnostic measurements may sometimes require the system to operate under controlled load, but repair work should not be performed on energized LED modules or boards. Power should be removed before disconnecting components, soldering, reworking connections, or performing board-level repair. When operating measurements are necessary, they should be performed deliberately with the cabinet secured, appropriate measurement points identified, and no improvised probing near exposed AC terminals. Repairing while the module is energized can damage components and introduce unnecessary risk.
Inspect the Physical Power Path
Begin with the visible and mechanical evidence. Look for heat discoloration at input connectors, cracked solder joints on power terminals, loose terminals, pinched cables, damaged insulation, corroded connectors, and signs of moisture or contamination. In touring inventory, repeated vibration and cable strain are frequent contributors to intermittent power faults.
A connector can look acceptable and still develop resistance under load. That resistance creates heat, voltage drop, and unstable behavior that may appear only when the wall displays bright content. Check connection integrity at the power supply output, distribution board, module harnesses, and any cabinet-to-cabinet power pass-through. Compare suspect points with an equivalent known-good cabinet when possible.
Also inspect cooling. A failed fan, obstructed vent path, or power supply packed with dust can contribute to a heat-related shutdown that resembles an electronic failure. Replacing a supply without addressing the thermal condition may allow the same issue to return in the same service environment.
Measure Input, Output, and Load
A disciplined measurement sequence matters more than a single voltage reading. First verify that the correct AC voltage reaches the supply input. Then verify the supply’s DC output at the supply terminals. Next, measure that rail at the distribution point and at the farthest module connection. The difference between these readings can help reveal voltage loss through wiring, connectors, fuses, or distribution hardware.
Many professional LED modules use low-voltage DC rails such as 5V, but the required values and tolerances vary by product. Never assume that a reading is acceptable simply because it is close to a common nominal value. Confirm the cabinet’s specified power architecture, then assess the rail under representative load when appropriate. A supply that produces correct voltage without modules connected may collapse, ripple excessively, or enter protection once the cabinet draws current.
Current draw can also provide useful diagnostic information. An unexpectedly low draw may indicate an open connection, a supply that is not enabling, or modules that are not receiving power. Abnormally high current can point to a shorted module, damaged capacitor, failed IC, or another downstream board fault. Isolate branches methodically rather than repeatedly applying power to a suspected short.
When appropriate instruments are available, ripple and transient behavior may also be evaluated. A multimeter can confirm a basic DC value, but it may not expose instability that contributes to flicker, intermittent scan behavior, receiving-card resets, or color shifts. A rail can appear normal in a static measurement and behave differently under demanding content.
Do Not Assume the Power Supply Is the Root Cause
Power supplies do fail, and replacement can be the correct repair. But a supply is also a component that can be replaced prematurely. If a replacement supply fails quickly, trips under load, or runs unusually hot, the cabinet may have a downstream fault that has not been resolved.
Common contributors include a shorted LED module, compromised power distribution PCB, damaged harness, poor solder joint, contaminated connector, or a receiving card with a board-level fault. A cabinet can also have more than one issue: a supply damaged by an earlier short and a remaining module fault that could affect the replacement.
This is where component-level diagnosis helps protect the asset. Rather than treating a cabinet as a collection of replaceable boxes, technicians can isolate the failed branch, inspect the PCB, test suspect components, and repair the actual failure where practical. That approach is particularly valuable when matching replacement parts are delayed, discontinued, or expensive relative to a repairable assembly.
Repair the Fault, Then Prove the Cabinet
After repairing LED cabinet power hardware, reconnect components in a controlled sequence. Confirm correct rail voltage at each stage, inspect for abnormal heat, and verify that all modules initialize properly. A cabinet should not return to inventory simply because it powers on once at low brightness.
Meaningful QC can include sustained powered testing, full-white and dynamic-content checks, module and color uniformity review, receiving-card communication verification, and inspection for intermittent behavior as the cabinet reaches operating temperature. For cabinets with previous pixel, scan, or color issues, test those conditions separately. Restoring power stability does not automatically correct module damage that may have occurred during the original failure.
Document the incoming symptom, diagnosis, repair performed, replacement components if used, test conditions, and final result. This record gives operations teams a basis for fleet decisions. If several cabinets show the same connector fatigue, supply age pattern, or module failure mode, preventive maintenance can be considered before the issue appears on a client show site.
When Replacement Makes More Sense
Repair is not automatically the best answer. A severely damaged cabinet with widespread corrosion, repeated board failures, obsolete components, or a compromised mechanical structure may require replacement or a larger rebuild. The decision depends on parts availability, remaining asset life, match requirements, deployment schedule, and the operational impact of another failure during a high-visibility event.
For many professional operators, the practical choice is neither blanket replacement nor a low-cost quick fix. It is a documented technical assessment that identifies whether the cabinet can return to reliable service. With more than a decade of technical service experience in professional LED environments, 725Co. approaches that decision around evidence: what failed, why it failed, what the repair corrects, and how the cabinet performed in final testing.
A dark cabinet creates pressure because the next show, install, or rental pull does not wait. Treat the power fault as a system problem, verify the repair under appropriate load and test conditions, and return equipment to service only after it has been properly evaluated and documented.

Jose de Jesus Martinez (Chuy) is the CEO of 725co. LED Repair Professionals, a trusted name in high-quality LED module repair and video wall services. With over 12 years of experience and certification as an electronic engineer, Chuy has built a reputation for excellence, partnering with industry leaders. Under his leadership, 725co is known for precision repairs, transparent service, and a commitment to protecting the long-term value of LED investments.