A bad LED module rarely shows up at a convenient time. It appears during prep, during load-in, or worse, after the wall is already live and someone notices a dead section, color shift, or intermittent row failure on camera. If you are figuring out how to replace LED module assemblies in a professional display, the real goal is not just swapping a part. It is restoring image quality without creating a second problem.
For rental inventory, fixed installs, and high-visibility venues, module replacement sounds simple until it is not. A panel can have a bad module, but it can also have a hub board issue, connector damage, receiving card trouble, calibration mismatch, or PCB-level failure that makes a new module look bad too. That is where experienced diagnosis matters.
When replacing the LED module is actually the right fix
Sometimes replacement is the practical move. If the module has physical face damage, impact cracks, major mask damage, broken corners, severe water exposure, or obvious PCB failure, replacement may be faster and more practical than board-level repair in the field. The same applies when time pressure is high and you have a known-good matching spare in inventory.
But a visible defect does not always mean the module itself is the root cause. A dark area can be caused by poor contact at the hub connection. A color problem may come from calibration data, a bad driver IC, or a scan issue. Intermittent dropout can point to ribbon connection problems or stress damage on the panel interface rather than a failed module. Replacing the wrong part wastes time and can make troubleshooting harder later.
That is why professional teams usually treat module replacement as part of a larger diagnostic process, not a first reflex.
How to replace LED module without causing more damage
A careful approach to replacing LED module parts in a professional LED wall starts by confirming the exact failure. Compare the suspect area against adjacent modules, review processor and receiving card status, and verify whether the symptom follows the module or stays with the cabinet position.
If you have a matching spare module from the same product family, pixel pitch, scan configuration, and cabinet generation, test with that known-good unit before fully committing. This step matters because modules that look similar are not always electrically or visually interchangeable. A mismatch in scan rate, IC type, connector orientation, or calibration behavior can leave you with a module that powers up but does not display correctly.
Before removal, power down properly and protect the work area. On fine-pitch and rental-grade products, rushed handling can create avoidable damage — bent pins, torn pads, magnet misalignment, cracked LEDs, and face scratches. Use ESD precautions and support the cabinet so there is no unnecessary flex while the module is being removed.
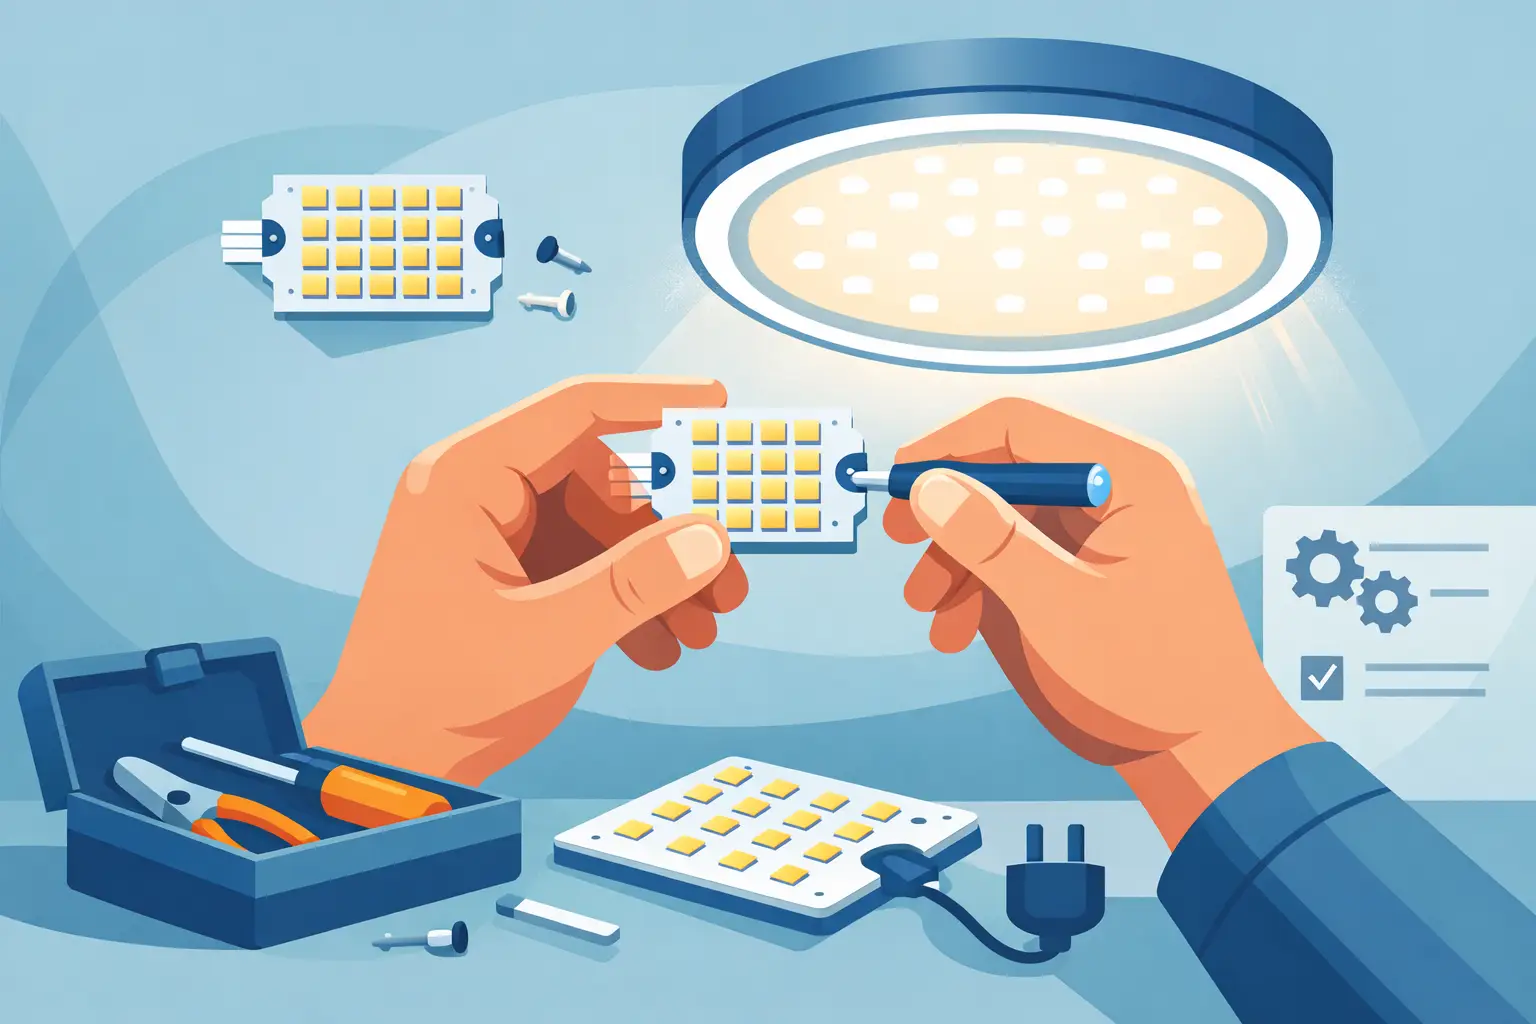
Module removal itself depends on the cabinet design. Some systems use front-service magnetic modules with vacuum tools. Others require rear access, screws, or a latch system. Whatever the method, avoid prying against the LED face or forcing a corner. If the module does not release cleanly, stop and check for hidden fasteners, cable retention, or cabinet distortion.
Once removed, inspect more than the module. Check the hub board, connector seating, signs of liquid intrusion, bent contacts, and any evidence of heat stress. This is often where an incorrect repair assumption becomes visible. If the cabinet-side connection is damaged, replacing the module alone may not address the underlying problem.
Install the replacement carefully, making sure the connectors seat evenly and the module sits flush with surrounding modules. Even a slight mechanical offset can show up as a visible seam, brightness inconsistency, or physical contact point during transport.
Replacement is only half the job
A module that powers on is not automatically a finished repair. Professional LED systems need image consistency, not just basic function. After replacement, verify color, brightness, uniformity, refresh behavior, scan performance, and physical alignment.
This is where quick swaps can fall short. If the replacement module comes from a different batch, has different aging, or has not been calibrated to match the wall, it may stand out immediately on camera or in dark scenes. In retail, hospitality, broadcast, and live event environments, that kind of mismatch can still be a significant presentation issue.
You should also test under representative content conditions. Solid colors can reveal dead pixels, tint shift, and line defects. Motion content can expose scan anomalies or intermittent signal issues. Lower-brightness scenes can make replacement mismatch more visible than full-white test patterns.
For professional operators, documented QC matters almost as much as the swap itself. If a cabinet is going back into rental inventory or being returned to service in a venue, the replacement should be evaluated and documented rather than assumed to be complete.
Why LED module replacement sometimes fails twice
The most expensive module replacement is often the one that appears to work and then develops another problem on the next deployment. That usually happens for one of three reasons.
First, the original diagnosis was wrong. The module was blamed, but the actual issue lived in the hub board, receiving path, power distribution, or cabinet interconnect.
Second, the replacement module was not fully compatible. Similar-looking modules can become mixed across fleets built over multiple purchasing cycles. Connector layout, driver IC behavior, firmware expectations, and calibration data can all vary.
Third, the replacement was completed correctly, but the larger panel already had additional wear or damage. Repeated impact, prior rework, connector fatigue, and environmental exposure can create conditions where a single swap does not address the broader issue.
That is why technical repair partners often look beyond the idea that every visible issue should be solved with a quick part change. Sometimes replacement is the answer. Sometimes it is only the visible layer of a deeper failure.
When repair is better than replacement
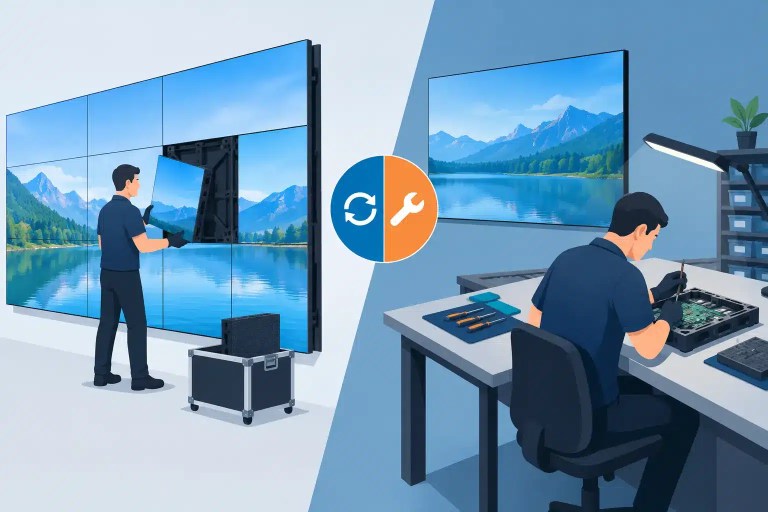
If the module is hard to source, expensive, no longer manufactured, or part of a larger inventory consistency issue, component-level repair may be the more practical path. Dead pixels, failed ICs, bad passive components, damaged pads, and certain PCB faults can often be repaired directly when handled by technicians with the appropriate tools and process.
That matters for companies managing large LED fleets. Replacing modules every time there is a defect can create uneven color age across the wall, drive up parts cost, and reduce spare inventory quickly. In some cases, repairing the original module can preserve a better visual match than introducing another used or mixed-batch replacement.
It also matters when previous repair attempts have introduced additional damage. Modules may arrive with lifted pads, excessive heat damage, inconsistent driver IC rework, or damaged traces that require deeper evaluation. Once that happens, a simple field swap may become a more involved repair decision.
For B2B operators under pressure, the practical question is not whether replacement is faster in theory. It is whether replacement provides a well-supported path back to service without creating additional downtime or visual issues.
A better decision process for professional teams
If you are deciding how to replace LED module units across an LED wall, think beyond the single cabinet in front of you. Ask whether you have the correct spare, whether the issue has been confirmed at the module level, whether calibration and image matching can be restored, and whether the cabinet has any supporting faults that need attention at the same time.
If the answer is yes across the board, replacement can be the right move. If any of those answers are unclear, a technical evaluation may be the better path before more parts get swapped. That is especially true for rental inventory, fine-pitch product, discontinued modules, and high-visibility displays where visual inconsistency is not acceptable.
With more than a decade of technical service experience supporting professional LED environments, 725Co. has seen the same pattern repeatedly: clients can spend money replacing modules that were never the root cause while the real issue remains with the cabinet or system. Quality-focused repair work starts with knowing which problem is actually being addressed.
A replaced module should leave the wall with a stronger technical basis for service, not simply look better for a few minutes on the bench. That is the standard worth maintaining when uptime, presentation quality, and client expectations are all involved.

Jose de Jesus Martinez (Chuy) is the CEO of 725co. LED Repair Professionals, a trusted name in high-quality LED module repair and video wall services. With over 12 years of experience and certification as an electronic engineer, Chuy has built a reputation for excellence, partnering with industry leaders. Under his leadership, 725co is known for precision repairs, transparent service, and a commitment to protecting the long-term value of LED investments.