A panel goes down two hours before load-in, and suddenly the question is not whether the wall matters. It is how quickly you can isolate the fault, protect the rest of the system, and decide how to repair led screen failures without creating bigger problems. In professional AV, a bad module is rarely just a bad module. It may be a power issue, a receiving card fault, PCB damage, an IC failure, or the result of a previous repair that was never fully resolved.
That is why professional LED repair starts with diagnosis, not parts swapping. If you manage rental inventory, installed displays, or high-visibility video walls, the goal is not to make the panel light up for five minutes. The goal is to restore appropriate performance and evaluate the equipment under conditions relevant to transport, show use, and extended operating hours.
How to Repair LED Screen Issues Starts With the Right Diagnosis
One of the easiest ways to waste money on LED repair is to assume the symptom tells you the cause. Dead pixels, flickering rows, color shift, scan abnormalities, or a dark section of cabinet can all point in different directions depending on the module design and the rest of the system.
A proper diagnosis usually starts by narrowing the failure to the signal path, the power path, or the module itself. If the issue follows a specific panel across different cabinet positions, the fault is likely local to that panel or module. If the issue stays in the same physical position regardless of which panel is installed, the problem may be upstream — cabling, receiving card, hub board, or power distribution.
This matters because LED walls can be misdiagnosed in the field. A technician may see a black corner and replace a module when the actual cause is a failing connector or damaged data line. Another common mistake is treating intermittent faults as cosmetic issues when they may indicate a developing component or connection problem. That can lead to repeat service work and additional downtime later.
What to Check Before You Attempt a Repair
Before any repair work starts, the system should be inspected in a controlled way. On professional LED products, that means checking power supplies, ribbon cables, receiving cards, hub boards, cabinet interconnects, and the affected modules themselves. You also want to verify whether the problem is constant or temperature-dependent, whether it appears only at certain brightness levels, and whether the fault changes after cabinet movement.
Visual inspection still matters. Cracked LEDs, lifted pads, impact damage, corrosion, bent pins, poor previous soldering, and heat discoloration can reveal useful information before a meter or microscope comes out. In rental environments, physical damage from packing, transport, and rushed setup is common. In fixed installs, long-term heat exposure and power irregularities may appear more often.
If the wall has processor or controller issues, the diagnostic path changes again. A screen symptom can be caused by mapping errors, firmware mismatch, processor configuration problems, scaling issues, or bad output paths. That is one reason module diagnosis and controller troubleshooting often overlap in professional LED systems.
The Most Common Professional LED Screen Failures
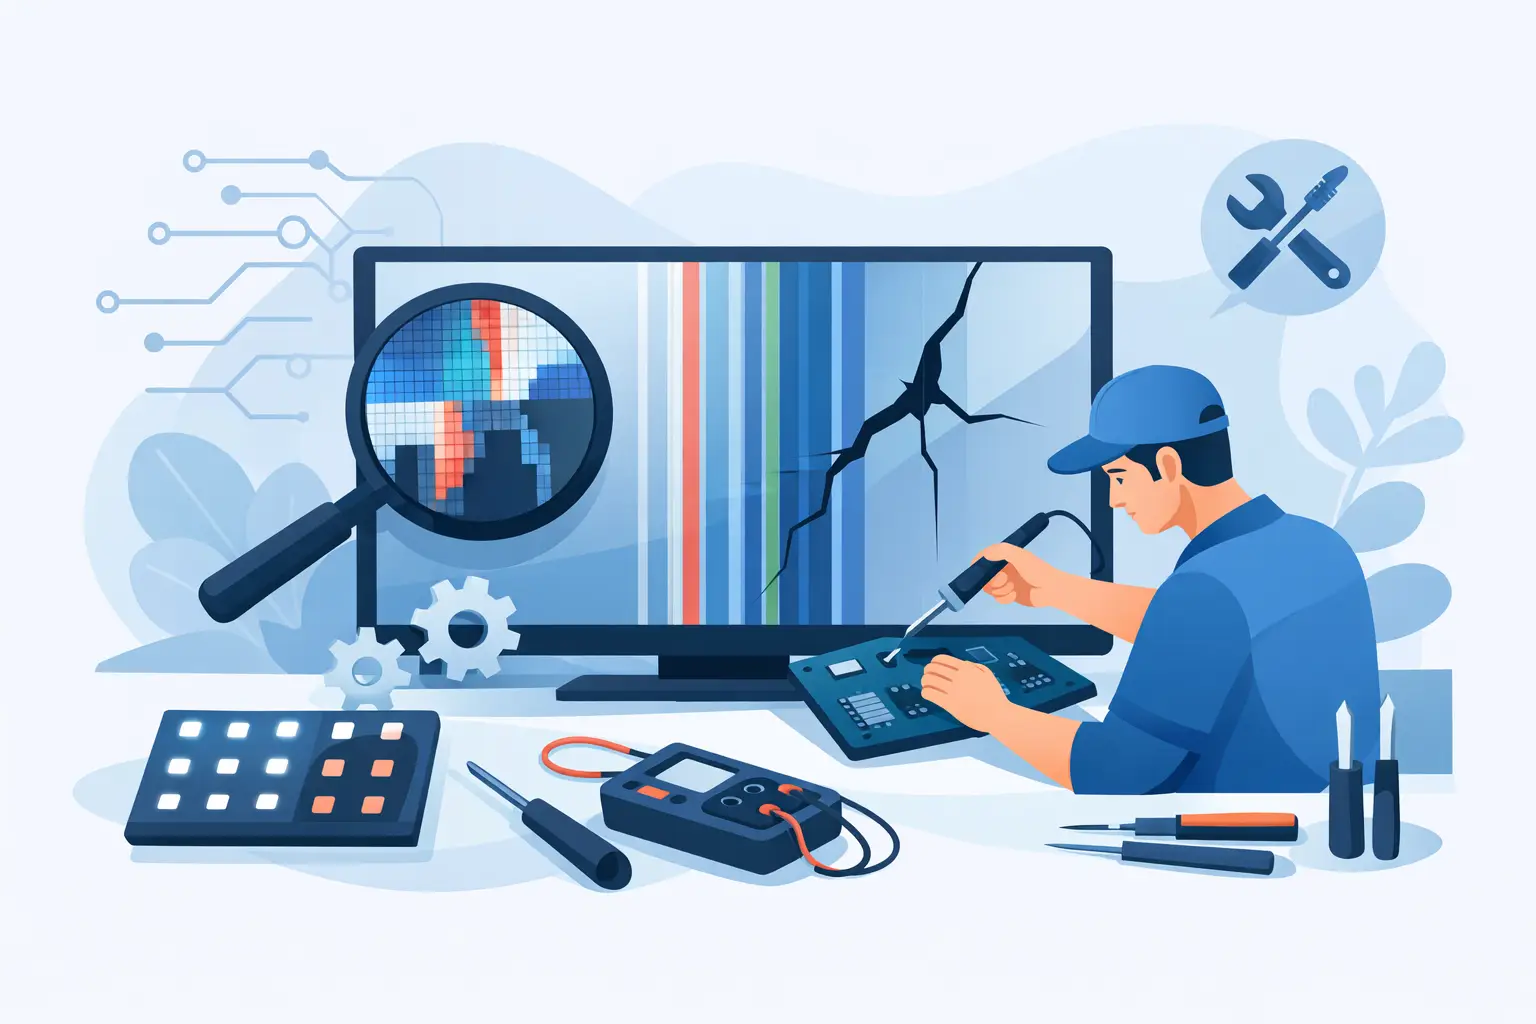
When clients ask how to repair led screen problems, they are usually dealing with one of a handful of failure categories. Dead pixels and partial pixel loss are common, especially on high-use inventory. These can come from failed LEDs, damaged driver ICs, solder joint issues, or PCB trace damage.
Row and column failures often point to driver IC trouble, signal path interruption, or board-level damage. Random flicker may be tied to unstable power, poor data integrity, connector issues, or intermittent component failure. Color shift can come from LED failure, calibration mismatch, or receiving and control issues depending on how the system is built.
Then there are repairs that arrive after previous service attempts. These can be more time-consuming because pads may be torn, components may be overheated, the wrong IC may have been installed, or the original fault may still be present because only the visible symptom was addressed. In those cases, the work may involve correcting earlier damage in addition to diagnosing the original problem.
Component-Level Repair vs. Panel Replacement
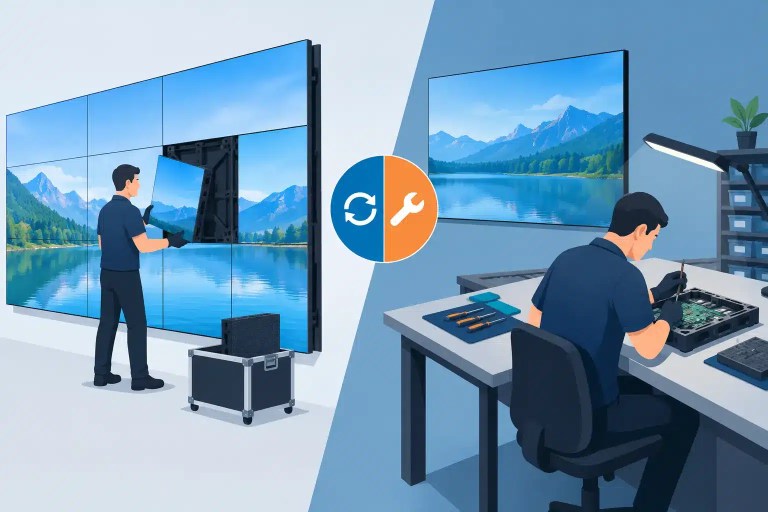
For professional operators, replacement is not always the most practical first move. If matching inventory is delayed, discontinued, or expensive, component-level repair can be a useful alternative. That is especially true when the issue is isolated to LEDs, ICs, connectors, PCB faults, or localized damage that does not justify removing an otherwise serviceable module from inventory.
The trade-off is that proper component-level work takes skill, equipment, and process. Precision soldering on LED modules is not the same as simply replacing a larger electronics assembly. Pad integrity, heat control, alignment, signal continuity, and post-repair testing all matter. A quick visual fix might restore output temporarily, but if the underlying fault remains, the same module may require additional service later.
This is where microscope-level repair and evidence-based diagnostics add value. The point is not simply that a module can be repaired. It is that the repair is based on a confirmed fault and evaluated appropriately before the module returns to service.
How to Repair LED Screen Modules Without Causing More Damage
If you are evaluating whether a module should be repaired internally or sent to a specialist, the key question is risk. Some organizations have strong in-house bench capability and can handle routine pixel replacement or known component failures. Others may be better served by outsourcing the work once diagnosis suggests PCB damage, driver IC replacement, trace repair, or recurring faults.
The reason is straightforward. LED modules can be damaged further when the wrong tools or temperatures are used. Poor rework technique can lift pads, weaken neighboring components, distort the board, or create intermittent faults that only appear under load. A repair that passes a quick bench check but develops problems during a show requires further evaluation.
A proper process includes fault isolation, controlled component replacement, inspection under magnification, continuity checks where needed, functional testing, and final QC documentation. In professional environments, documentation matters because it gives operations teams and asset managers a record of what was repaired, what was tested, and whether any additional concerns remain.
Repair Is Not Finished Until QC Is Finished
One of the important differences in professional LED service is what happens after the soldering is done. A panel that powers on is not automatically ready for rental inventory or venue use. It still needs to be evaluated for brightness consistency, color behavior, pixel performance, signal stability, and overall operation under representative conditions.
That is why documented QC is part of the repair process. For professional AV companies, venues, and integrators, the practical concern is whether the repaired asset has been properly tested before returning to service. Final testing can help identify intermittent issues, visual inconsistencies, and upstream problems that may not have appeared during the first pass.
With more than a decade of technical service experience supporting professional LED environments, 725Co. focuses on the difference between temporary recovery and a documented repair process. A repair partner should be able to explain what failed, what was repaired, what was tested, and what information supports the decision to return the module or panel to service.
When Repair Makes More Sense Than Replacement
Not every panel should be repaired. If a product is heavily damaged, structurally compromised, or no longer practical within the rest of the wall, replacement may be the right call. But there are many cases where replacement costs more than the problem justifies, or where matching inventory is unavailable on the timeline operations require.
That is especially true for rental houses, live event providers, casinos, hotels, retail installations, and corporate environments where downtime has immediate operational consequences. If a repair can preserve inventory consistency, address a confirmed fault, and avoid a rushed replacement purchase, it may be the better business decision. The answer depends on the failure mode, the age and condition of the product, the availability of matching parts, and the level of testing required before the asset goes back into service.
Knowing how to repair led screen failures properly is really about knowing when to diagnose deeper, when to repair at component level, and when to stop chasing symptoms. The screen does not care whether the pressure is a show deadline, a venue opening, or an upset client waiting on a wall to work. It responds to correct configuration, proper electrical conditions, careful repair, and testing that documents how the equipment performed afterward.
If you are looking at a panel that has already failed once, a practical next step is to slow down, identify the actual fault, and address the part of the system the evidence supports.

Jose de Jesus Martinez (Chuy) is the CEO of 725co. LED Repair Professionals, a trusted name in high-quality LED module repair and video wall services. With over 12 years of experience and certification as an electronic engineer, Chuy has built a reputation for excellence, partnering with industry leaders. Under his leadership, 725co is known for precision repairs, transparent service, and a commitment to protecting the long-term value of LED investments.